Android Studio is a powerful Integrated Development Environment (IDE) designed specifically for mobile app development on the Android platform. It provides important tools such as the Gradle Build System, Android Software Development Kit (SDK), and the Android Virtual Device (AVD).
Android Studio allows developers to build, test, and optimise Android applications with ease. According to recent statistics by Android Developers, Android Studio is used by over 75% of Android developers globally.
The key features of Android Studio include an Intelligent Code Editor, a Layout Editor for building user interfaces, a Performance Profiler for monitoring app performance, and advanced debugging tools for troubleshooting issues. It also supports APK Export and smooth integration with modern mobile app development processes.
To efficiently run Android Studio, your system should meet the minimum requirements, including a 64-bit operating system, 8GB of RAM, and 4GB of available disk space. These ensure smooth operation during app development, testing, and deployment.
Installing Android Studio is simple and easy. You must download the installer package for your operating system, follow the installation wizard, and set up the Android SDK and other dependencies. After installation, you build your mobile app with full access to Android Studio's tools and features.
- What is Android Studio?
- What Language Does Android Studio Use?
- What are the Key Features of Android Studio?
- What are the System Requirements for Android Studio?
- What are the Different Versions of Android Studio?
- How to Make an Android App with Android Studio?
What is Android Studio?
Android Studio is the official Integrated Development Environment (IDE) for Android app development, developed by Google. It provides a comprehensive suite of tools to efficiently design, develop, test, and debug Android applications.
The primary purpose of Android Studio is to facilitate the Android app development process by offering features like a visual layout editor, code editing with intelligent suggestions, and debugging tools. Developers use it to write code, manage dependencies, build APKs, and test applications across different devices.
Android Studio is not a framework; it is an IDE that supports multiple frameworks, including Jetpack Compose for UI development and Firebase for backend integration. It acts as a development hub, enabling the use of various Android SDKs, APIs, and libraries within a structured coding environment.
Android Studio is completely free to download and use. It is an open-source software available under the Apache License 2.0, making it accessible to individual developers and large-scale enterprises without licensing fees.
It is widely considered the best IDE for Android development due to its deep integration with Android SDK, built-in emulator, extensive debugging tools, and outstanding support for Kotlin and Java, the primary languages for Android app development. Its ability to optimise code, enhance performance, and provide real-time previews makes it the preferred choice for developers.
According to recent statistics by Andriod Developers, Android Studio is used by over 75% of Android developers globally. With millions of downloads and active contributions from Google, it continues to evolve as the most robust IDE for Android app development, ensuring compatibility with the latest Android versions and devices.
What Language Does Android Studio Use?
Android Studio primarily uses Kotlin and Java as the main programming languages for Android app development. Kotlin is the preferred language officially recommended by Google due to its concise syntax, enhanced safety features, and interoperability with Java. Java, the traditional language for Android, remains widely used, especially in legacy applications.
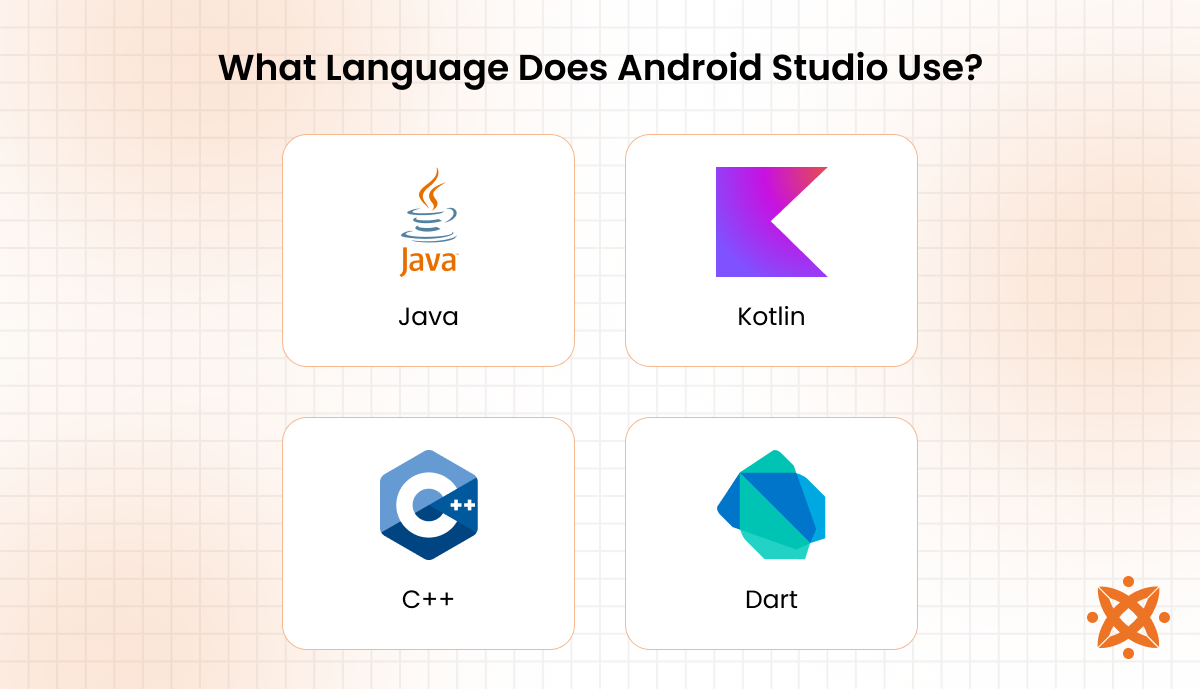
C++ is used for performance-intensive applications through the Android NDK (Native Development Kit), while Dart is supported for Flutter-based development. Android Studio also utilises XML for designing user interfaces, enabling developers to create structured and responsive layouts efficiently.
What are the Benefits of Android Studio?
The benefits of Android Studio include a powerful code editor, effortless debugging tools, and an integrated development environment (IDE) optimised for Android app development. It offers intelligent code completion, real-time error detection, and refactoring tools to enhance productivity.
The built-in Android Emulator allows developers to test applications across multiple devices and screen sizes. With features like Gradle-based build automation, Android Studio simplifies the development process, ensuring efficient project management. It supports multiple programming languages, including Kotlin and Java, and integrates smoothly with GitHub and Firebase, making it the most comprehensive and preferred IDE for Android development.
What are the Limitations of Android Studio?
The limitations of Android Studio are high system resource consumption, slow performance on low-end machines, and a steep learning curve for beginners. Due to its heavy RAM usage and CPU-intensive processes, it slows down development, particularly on older hardware.
The Gradle build system, while robust, causes long build times that affect productivity. Newcomers find its vast feature set overwhelming, requiring time to understand its full capabilities. Despite its rich tools, real-device testing remains important, as the Android Emulator does not fully replicate real-world performance. These limitations make optimisation and system upgrades necessary for smooth development.
What are the Key Features of Android Studio?
The key features of Android Studio are APK Analyzer, Layout Editor, Support for multiple languages and frameworks, and Debugging Tools. These features facilitate Android app development, enhance productivity, and improve performance optimisation.
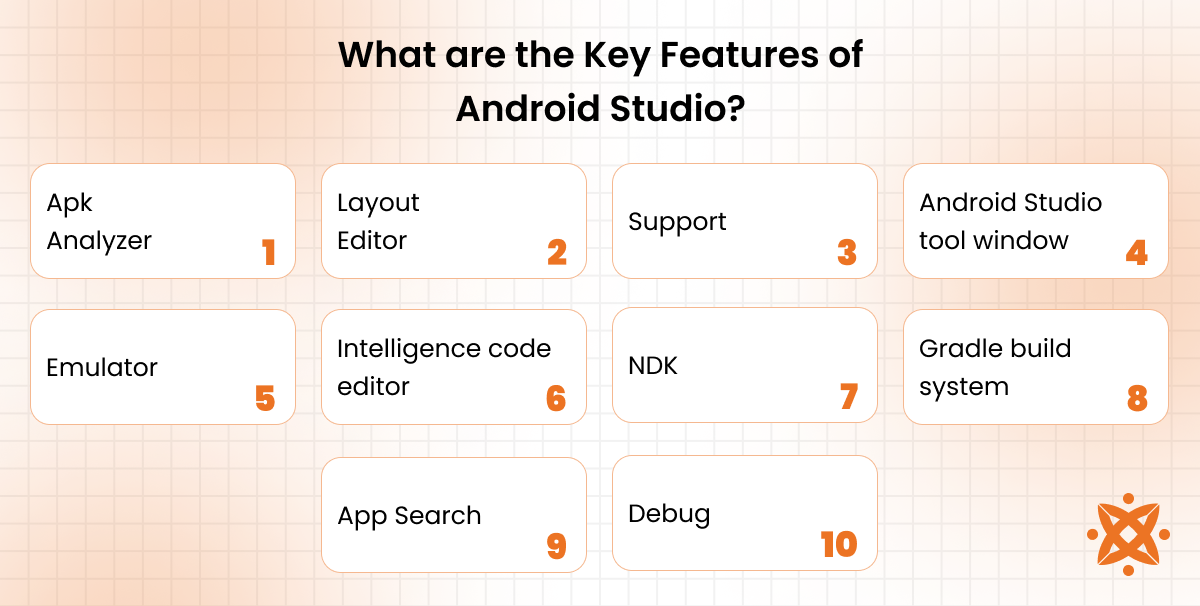
The key features of Android Studio are as follows:
- Apk Analyzer
- Layout Editor
- Support
- Android Studio tool window
- Emulator
- Intelligence code editor
- NDK 8. Gradle build system
- AppSearch
- Debug
1. APK Analyzer
APK Analyzer helps developers inspect an application's contents without extracting files manually. This feature enables detailed insights into APK structure, resource usage, and method count, helping optimise app size and performance. Analysing DEX files, assets, and manifests assists in reducing unnecessary overhead.
2. Layout Editor
Layout Editor simplifies UI design by offering a drag-and-drop interface for building responsive app layouts. It provides real-time previews across multiple screen sizes and resolutions, ensuring a better user experience. Developers easily modify XML code alongside the visual representation for enhanced precision.
3. Support
Android Studio supports multiple programming languages, including Java, Kotlin, and C++, making it a versatile development environment. This feature allows Android Studio to integrate with Google Cloud services, Firebase, and Jetpack libraries, offering robust backend and cloud support for modern app development.
4. Android Studio Tool Window
The Tool Window organises key features and debugging utilities into a structured interface. It helps developers navigate code files, project structures, and system logs, improving workflow efficiency. Users optimise their workspace for better productivity by customising tool placements.
5. Emulator
The built-in Emulator allows developers to test applications on various Android devices and configurations without physical hardware. It provides advanced debugging features such as GPS simulation, camera testing, and network conditions emulation, accelerating app development cycles.
6. Intelligent Code Editor
The Intelligent Code Editor offers real-time code suggestions, syntax highlighting, and auto-completion to enhance programming efficiency. Supporting Java, Kotlin, and C++, it reduces syntax errors and speeds up development by providing quick refactoring options.
7. NDK (Native Development Kit)
NDK enables developers to write parts of their apps in native C and C++ code, optimising performance for computation-heavy applications. It improves efficiency in gaming, real-time processing, and machine learning tasks, reducing execution overhead compared to Java-based implementations.
8. Gradle Build System
Gradle is a flexible, automated build system that handles dependencies, modularisation, and resource optimisation. It allows developers to configure multiple build variants, integrate external libraries, and simplify deployment, making it an important tool for large-scale projects.
9. AppSearch
AppSearch is a powerful on-device search engine that enables high-performance indexing and querying of structured data within an application. It improves in-app search functionality and user experience through faster and more efficient data retrieval.
10. Debugging Tools
Android Studio provides comprehensive debugging tools, including Logcat, memory profiler, and performance analysers, to identify and fix issues efficiently. These tools help detect memory leaks, optimise performance, and ensure smooth app execution across different devices.
What are the System Requirements for Android Studio?
The minimum system requirements to run Android Studio are a 64-bit operating system, at least 8GB of RAM, and a quad-core processor. These specifications ensure the IDE functions smoothly, allowing efficient coding, debugging, and testing without performance bottlenecks.
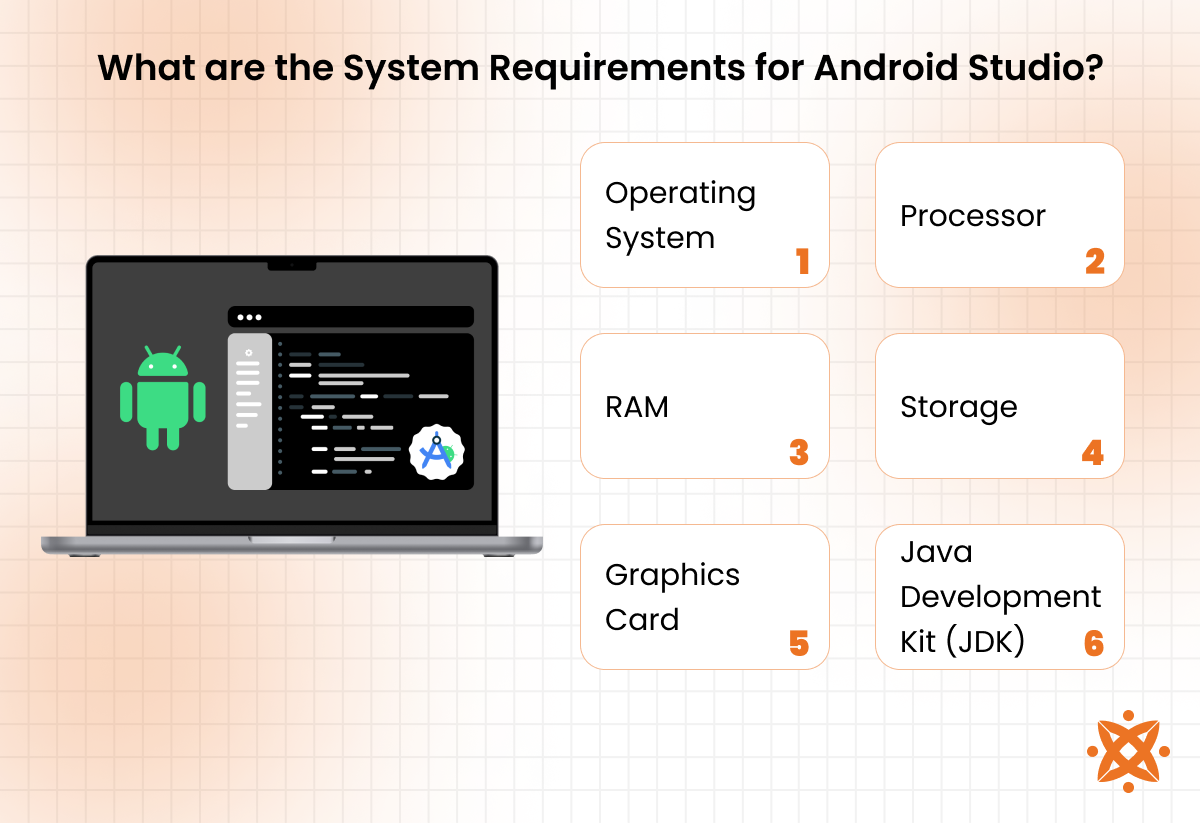
The minimum system requirements to run Android Studio are as follows:
- Operating System: Android Studio requires a 64-bit version of Windows, macOS, or Linux. A 64-bit OS ensures compatibility with modern development tools and improved memory allocation, enhancing performance for large projects.
- Processor: A quad-core Intel or AMD processor (or better) is recommended for smooth execution. A faster CPU accelerates code compilation, emulator performance, and overall responsiveness during development.
- RAM: A minimum of 8GB of RAM is necessary, but 16GB or more is recommended for handling multiple emulator instances and other development tools without lag.
- Storage: At least 8GB of free disk space is required, but SSD storage is highly recommended for faster file access, project loading, and indexing.
- Graphics Card: A graphics processing unit (GPU) with OpenGL 2.0 support is necessary for running the Android Emulator smoothly, ensuring accurate UI rendering and testing across different screen sizes.
- Java Development Kit (JDK): Android Studio requires JDK 8 or higher to compile Java-based Android applications, ensuring compatibility with the latest SDK versions.
How to Install Android Studio?
To install Android Studio, download the installer, follow the installation wizard, set up the Android Software Development Kit (SDK), and configure the Virtual Device Manager for testing. These steps ensure a smooth setup across different operating systems.
How to Install Android Studio on Windows
To install Android Studio for Windows, the following steps are employed:
- Download and Run the Installer: Visit the official Android Studio website and download the Windows executable (.exe) file. Run the installer and follow the Installation Wizard prompts.
- Set Up System Requirements: Ensure your PC meets the minimum system requirements before proceeding. Choose installation components like SDK, Virtual Device Manager, and Gradle Build System.
- Complete Configuration: Once installed, launch Android Studio, configure the Integrated Development Environment (IDE), and download the necessary SDK components for development.
How to Install Android Studio on macOS
To install Android Studio for Linux, the following steps are employed:
- Download and Extract the Package: Download the .tar.gz file from the Android Studio website. Extract it using the terminal command.
- Set Up Permissions: Navigate to the extracted directory and run the Android Studio shell script.
- Install SDK and Configure IDE: Follow the setup wizard, install the Android Software Development Kit (SDK), and create an emulator via the Virtual Device Manager for testing.
How to Install Android Studio on Linux
To install Android Studio for macOS, the following steps are employed:
- Download the DMG File: Visit the Android Studio website and download the macOS .dmg file.
- Drag and Drop Installation: Open the downloaded file and drag Android Studio into the Applications folder to complete the installation.
- Setup and Configuration: Launch Android Studio, install the Gradle Build System, and configure project settings for development.
What are the Different Versions of Android Studio?
The different versions of Android Studio are Stable, Beta, Canary, and Preview, each serving different development needs. These versions cater to developers requiring reliability, early access to features, or experimental updates.

The different versions of Android Studio are as follows:
- Stable Version: The Stable version is the most reliable release, extensively tested to ensure smooth development. It includes fully tested features and is recommended for production app development.
- Beta Version: The Beta version introduces upcoming features that are nearing stability. While mostly reliable, it still contains minor bugs and is ideal for developers who want early access to new tools with minimal risk.
- Canary Version: Canary builds offer the latest experimental features and improvements. Released frequently, these versions are unstable but provide insight into Android Studio's newest capabilities. It is ideal for developers who want to test cutting-edge tools before they are widely available.
- Preview Version (Electric Eel, Flamingo, etc.): Preview versions are named after unique themes and represent the next major release in development. These versions showcase upcoming innovations and improvements that will eventually become stable releases.
How to Make an Android App with Android Studio?
To make an Android app with Android Studio, developers must set up the development environment, design the user interface, write code, test the app, and publish it. The process begins with installing Android Studio and configuring the necessary SDK tools. Next, developers create a new project and design the app's layout using the Layout Editor.
Coding is done in Java or Kotlin, with Android Studio's Intelligent Code Editor assisting development. The app is then tested using the Android Emulator or an actual device. After debugging, the app is built using the Gradle Build System and published on the Google Play Store.
What is the Difference Between Android Studio and VS Code?
The main difference between Android Studio and VS Code is that Android Studio is a dedicated Integrated Development Environment (IDE) for Android app development, while VS Code is a lightweight, general-purpose code editor that supports multiple languages and frameworks. Android Studio offers built-in tools like the Android Emulator, Gradle Build System, and Layout Editor, making it ideal for Android development. In contrast, VS Code requires additional extensions for Android development and lacks deep integration with the Android SDK.
What is the Difference Between Android Studio and IntelliJ?
The primary difference between Android Studio and IntelliJ IDEA is that Android Studio is a customised version of IntelliJ IDEA designed specifically for Android development. While both are developed by JetBrains, Android Studio includes built-in Android SDK tools, the Gradle Build System, and an Android Emulator, whereas IntelliJ IDEA is a general-purpose Java IDE focused on enterprise and web applications. IntelliJ IDEA supports multiple languages, while Android Studio is optimised for Kotlin and Java-based Android development.
What is the Difference Between Android Studio and Bluestacks?
The key difference between Android Studio and BlueStacks is that Android Studio is an IDE for developing Android applications, while BlueStacks is an Android emulator used to run Android apps on a PC or Mac. Android Studio provides tools for writing, debugging, and testing Android applications. In contrast, BlueStacks is designed for end-users to play mobile games or use Android apps on desktop systems without development capabilities.
What is the Difference Between Android Studio and Flutter?
The main difference between Android Studio and Flutter is that Android Studio is an IDE for Android app development, while Flutter is a UI toolkit for building cross-platform applications. Android Studio provides native Android development tools for Java and Kotlin, whereas Flutter uses Dart to create apps that run on Android, iOS, web, and desktop. Although Android Studio used to develop Flutter apps with the Flutter plugin, Flutter itself is not an IDE but a framework.
What is the Difference Between Android Studio and Eclipse?
The main difference between Android Studio and Eclipse is that Android Studio is a dedicated IDE for Android development, while Eclipse is a general-purpose IDE previously used for Android development before Android Studio became the official IDE. Android Studio offers built-in support for the Android SDK, Gradle Build System, and advanced debugging tools. In contrast, Eclipse requires separate plugins and lacks deep integration with modern Android development workflows.
Never Miss an Update From Us!
Sign up now and get notified when we publish a new article!
Oliver Baker
Co-Founder
Oliver Baker is a co-founder of Intelivita, a leading Web and Mobile App Development Company based in Leeds, UK. Oliver has been at the forefront of the business, expanding it globally and into new technologies including iOS and Android, AR, VR and Mobile Game applications. Oliver excels in Project Management, Leadership, Quality Assurance and Problem Solving and has qualifications with Prince2 and APM. He aims to develop his skills further through a shared interest with other leaders in the Software Markets and the Clients of Intelivita.
